You can activate donations in multiple areas on the Endavo platform.
IMPORTANT NOTE: Before you can offer subscription plans to your viewers, you must have a Stripe account set up and connected to your Endavo account. If you haven't connected Stripe yet, CLICK HERE for instructions. YOU WILL NOT SEE DONATIONS OPTIONS ON YOUR ACCOUNT UNTIL YOUR PAYMENT GATEWAY IS CONNECTED.
Add donations to your overall Web App, Channels and Live Events by clicking Allow Donations in the edit screen/form:
Add Donation to your Web App (website):
- Go to Apps > App Options and you can click on the App Options name you want to edit (you may only have one set of Options at first, until you add new ones later) OR you can go directly to Edit mode by clicking edit to the right of the App Options name (if so, skip #2)
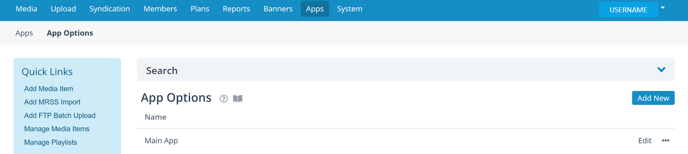
- Click Edit at bottom of App Options Information screen.
- Scroll down and click on e-Commerce section.
- Check Allow Donations

- Click Save
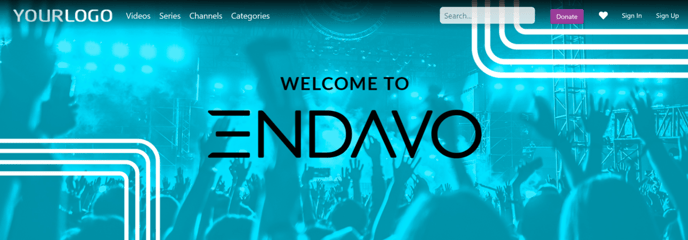
- You will see your Donate button at the top right of your Web App (may take a few minutes to take effect).
Add donations to a Channel:
- Go to Media > Channels to see your list of Channels.
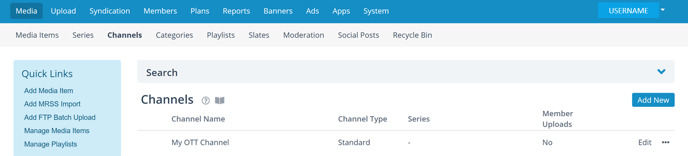
- Click on the Channel you would like to add donations or go directly to edit mode by clicking Edit to the right of the Channel name (if so, skip #3)
- Click edit on the bottom of the Channel Information page.

- Click Save
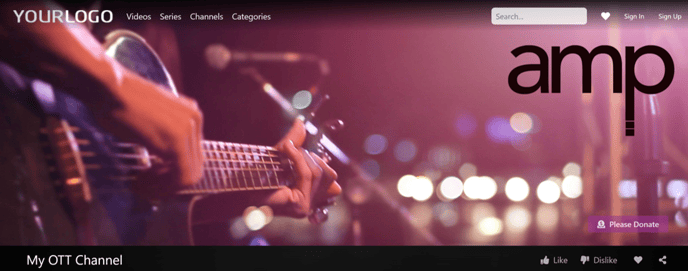
- You will see the Donate button on your Channel page on your Web App (website) (may take a few minutes to take effect).
Add donations to a Live Event (or Virtual Live Event)
- Go Media Items page
- Click on existing Live Event name (or Virtual Live Event) then Edit OR you can add donations when first creating a new Live Event (or Virtual Live Event) OR if editing an existing event, you can go directly to edit mode by clicking Edit to the right of Live Event name on Media Item list.
- Scroll to Interactive Area and check Allow Donations to add donations to your event.
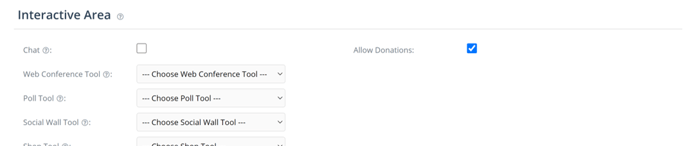
- Click Save when you are finished creating or editing your event.
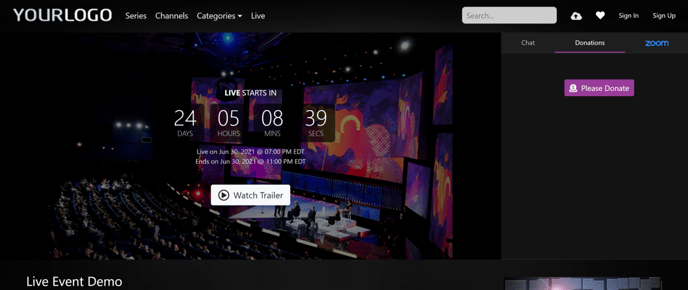
- You will find the Donate button in the interactive hub located beside your live event player (or countdown) on your live event page on your Web App (website).
Once donations are activated, unregistered guests and members can donate. The donation form will auto-populate member information, if a member is logged in, and they can use a credit card that is on file. Guests will need to enter their name, email and credit card information.
Thanks for reading! Check out our resources and blog on our website to get more helpful tips, use cases, and creative ideas for building your OTT business.